Visual Studio Code Dev Container
Dev containers for Visual Studio Code are quite useful. I have created one for use with the Raspberry Pi Pico C SDK.
Get it
Repository at https://github.com/mwinters-stuff/vscode-devcontainer-raspberrypi-pico.
To get it, grab the zip file from github and extract it.
> wget -0 pico-devcontainer.zip https://github.com/mwinters-stuff/vscode-devcontainer-raspberrypi-pico/archive/refs/heads/main.zip
> unzip  pico-devcontainer.zip
> mv vscode-devcontainer-raspberrypi-pico my-project-directory
Open and configure
Open the project directory with Visual Studio Code, you may get prompted to re-open in the dev container, cancel that for now.
The dev container is expecting to see /dev/ttyACM0, which would be the serial port of a connected Pico. I use
a pico with picoprobe connected to the pico i am actually programming on.
If this is not how you need it, open devcontainer.json which is in .devcontainer and look at the line runArgs
"runArgs": [ "--cap-add=SYS_PTRACE", "--security-opt", "seccomp=unconfined", "--device=/dev/bus/usb", "--device=/dev/ttyACM0"],
This runs docker with the arguments, the last two are connected devices. The first /dev/bus/usb is so the sdk tools can find
the pico when using picoprobe. The second is the serial port connected for monitoring the pico. You can change this or remove
it as required. The dev container will not start if the serial device can not be found.
Create dev container
To create the dev container, and open the project in it, press F1 or Ctrl+Shift+P to open the command pallet and type or select
Remote-Containers: Rebuild and Reopen in Container.
When the container has finished build and vs-code has opened you will get prompts to install extensions, install all of these. At some point
the CMake plugin will ask to Select a Kit for....
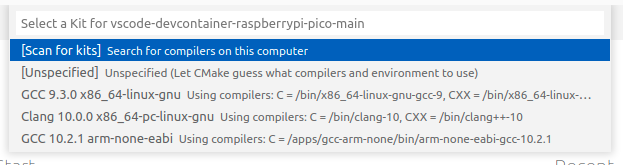
Choose the last option GCC 10.2.1 arm-none-eabi for the latest available compiler.
Test Project
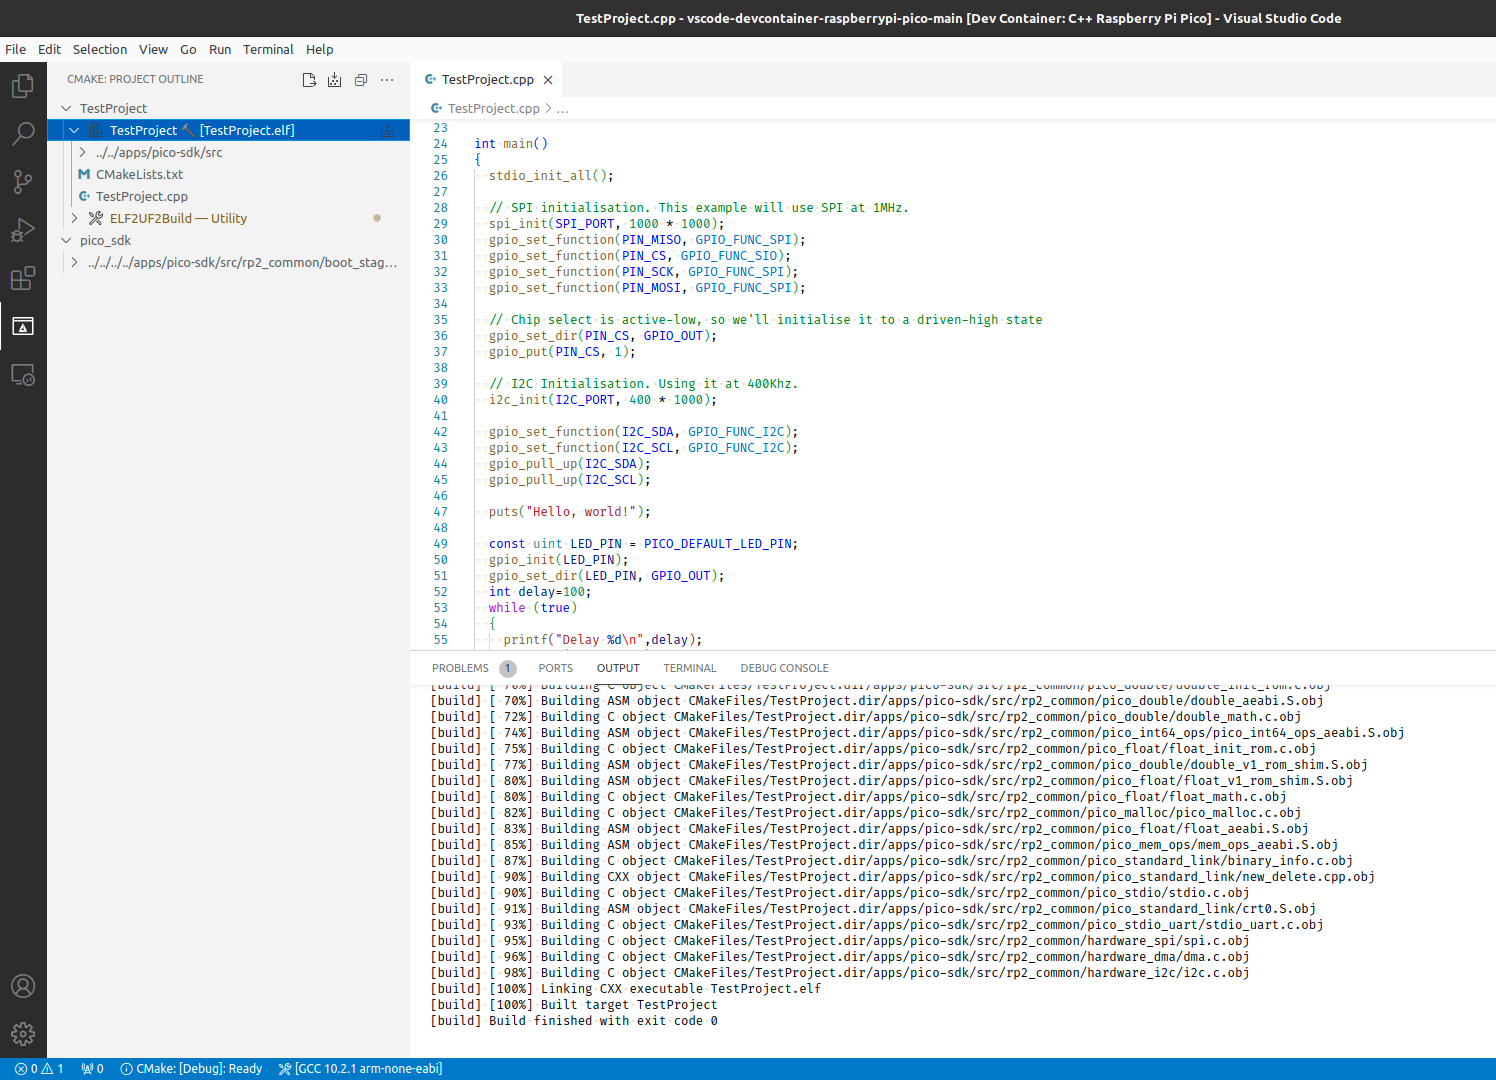
The dev container includes a test project which the main code is in TestProject.cpp and it is properly configured with CMake.
Select the CMake icon on the left bar and you will see the TestProject target. You can choose this as the default target by the right click menu.
Select the build icon and you project will build.
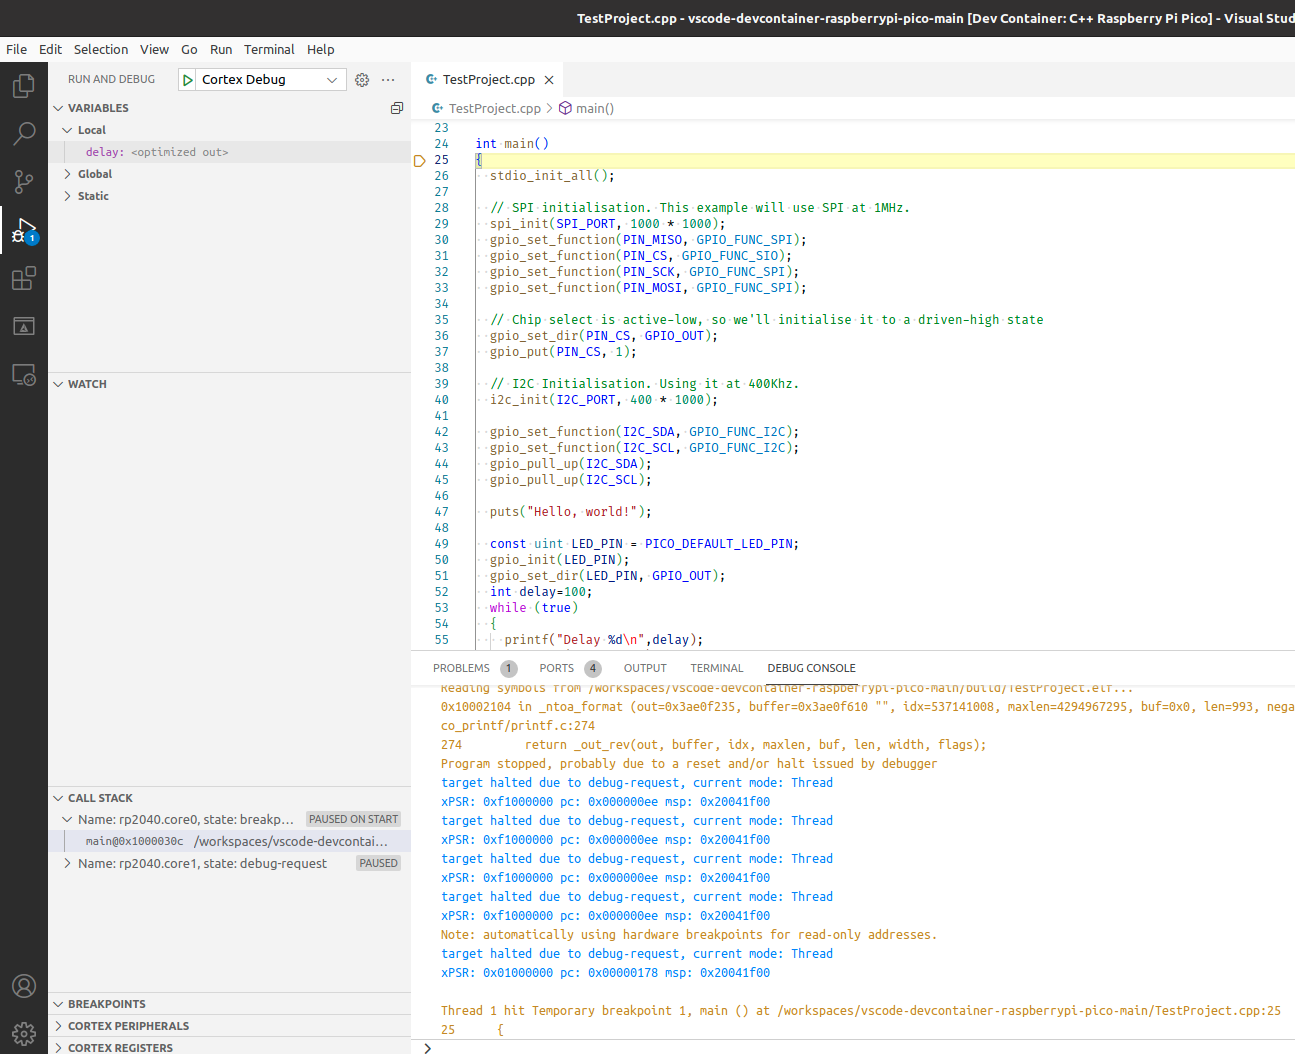
Now you can use the debugger to debug the project.
Links
- Visual Studio Code Developing inside a Container
- Raspberry Pi Pico SDK Documentation
- Debugging with PicoProbe Note, information about openocd not having support for picoprobe can be ignored.